Jaap Arriens/NurPhoto via Getty Images)
I’ve been buying and tinkering with smart home devices for years. As a result, my home network resembles a kind of Model UN of devices, bridges, protocols, assistants, and apps. I try to broker alliances, resolve disputes, and assure everybody, myself included, that this whole complicated thing is still worth it.
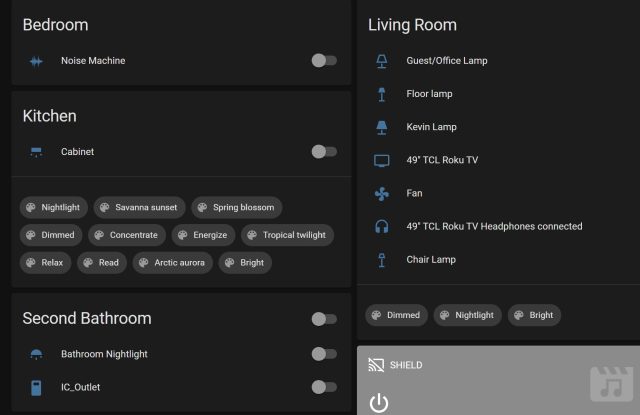
My salvation has been , a little server that gives you . Every device in my home is connected to Home Assistant, which runs on a tiny underneath my printer. I have a custom dashboard with all my switches, sensors, speakers, and lights. I have complete control, a custom dashboard, and infinite automations.
But sometimes, I just want to change the thermostat from the lock screen on my iPhone or tell Siri, on my phone or watch, to turn on a lamp. Yes, Home Assistant has its own app, plus a mobile-friendly website. But I also want to save my partner from learning how an entirely different, somewhat fiddly app works to access lights and switches.
Conveniently, Home Assistant isn’t an all-or-nothing proposition. Sure, you can use it to cut the big tech companies out of your smart home and design your own dashboard. But you can also use it as a gateway between a motley collection of non-HomeKit-friendly gadgets and Apple’s Home system. Or you can switch between both for more control or easier access.
Let’s dig into how Home Assistant can help HomeKit find every device in your home, even the devices it doesn’t officially support, for free. It can also connect Google and Amazon’s apps and assistants to the rare devices they don’t support, though that costs $5 per month (but also supports Home Assistant’s development).
One more note before heading deeper: if you only use Apple devices to control your smart home devices, you only care about HomeKit compatibility, and you have a spare Raspberry Pi, HomeBridge is another solution. It’s more limited in scope than Home Assistant, but that might be a plus for some folks.
Getting your home in order

First, you’ll want to get Home Assistant up and running and connected to your devices. It’s outside our scope here to walk you through that process, but there are many resources you can consult. Start with to get the system running on a Pi, a NUC, a NAS, an always-on system, a Docker container, or in a virtual machine. Basically, Home Assistant can live on any little computer that can always be on.
Once Home Assistant is running, add to it as many of the devices and services in your home (termed “Integrations” in Home Assistant) as you want accessible from your phones or speakers. If you hit a wall, the Home Assistant , , and are good places to look for troubleshooting tips. I’ve found quite a few tips on , too.
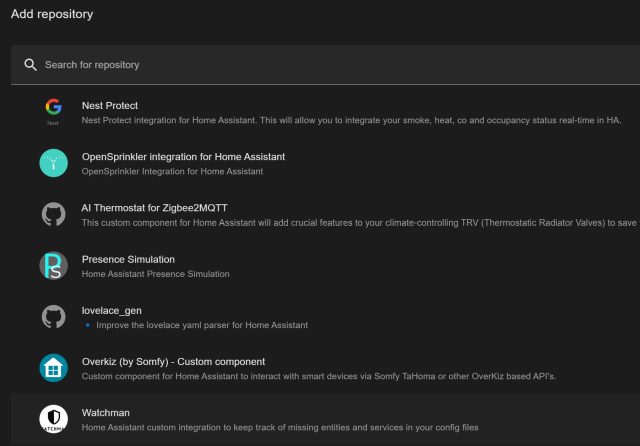
If you’ve looked in Home Assistant and can’t find an integration for one of your devices, consider installing the an unofficial community-maintained compendium of integrations and other add-ons. Search (in the upper-right corner of the HACS page) to see if your device or brand is offered.

Some HACS integrations may require more work to configure. I had to set up a on a friend’s Home Assistant setup to access his Ring pathway lights. For some devices (typically the cheaper, off-brand variety), you might sign up for an API key at a little-known company’s developer portal. You can decide whether the extra steps are worth having instant, pull-down-on-your-phone access to these gadgets.
If you already have Home Assistant running and connected to everything and you want to add a HomeKit bridge, you have a special task: Get rid of as many old, redundant, or non-responsive devices as possible. Head to Settings, Devices & Services, and then the Entities tab and sort by status to see what’s no longer connected or responding. When you connect Home Assistant to HomeKit, Google, or Alexa, the server sends over entire categories of devices, whether or not they’re duplicates or non-responsive. On HomeKit, in particular, it’s annoying to get rid of dead or duplicate entries, and the Home app will bug you to configure devices until you do.


